This time, let’s make a table and a chair with LEGO block.
First from the chair.

I’ll show you how to make two chairs, so try to make them in a way that has parts.

1) Place 2 “Block 1 x 2” under “Plate 2 x 4” (top left of photo)
2) Attach two “Plate 1 x 2 Horizontal Clips” to “Plate 1 x 2 Stick” (top right of the photo)

3) Attach the parts created at Nos. 1 and 2 (top left of the photo)
4) “Plate 1 x 4” is installed at No. 3 (top right of the photo)

5) Complete by attaching the “tile 1 x 4”!
It looks beautiful when you attach a plate to the sitting part, but if you want to fix the mini figure firmly, it is recommended as it is.
Then, how to make a second chair.

The block that becomes the movable part of the backrest is special, so if there is something that can be substituted, please try to make it with the hand-held block.

1) Place 2 “Block 1 x 2” under “Plate 2 x 4” (top left of photo)
2) “Plate 2 x 2 Ball Joint Pin Hole” and “Plate 1 x 2 Side Small Ball Socket” (top right photo)

3) Install “Plate 2 x 4” on the parts created at No. 2
4) Attach two “tiles 1 x 2” and 1 “tile 1 x 4” on the attached “plate 2 x 4” .

5) Complete by attaching the parts of No. 4 to No. 1!
Let’s make a desk at the end.

The desk is simple in parts.

1) Make 2 “Block 1×2” as shown in the top left of the photo
2) Attach “Plate 2 x 4” to the first part.

3) “Tile 1 x 2” is completed by attaching four pieces!

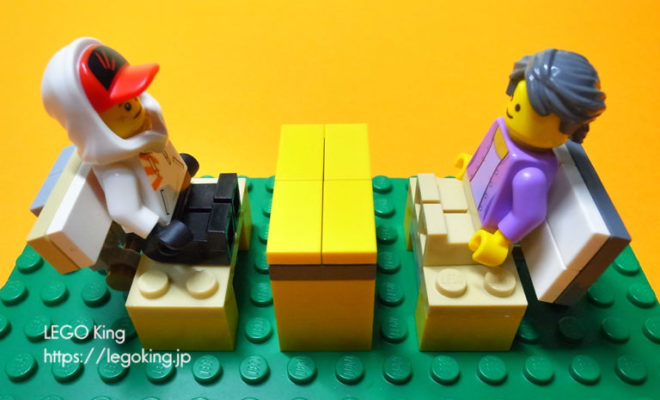
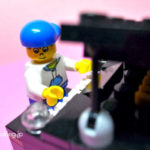
When I sit a mini figure, it looks like this.
If you have parts, you might want to make the width of the desk a little larger.




この記事へのコメントはありません。