
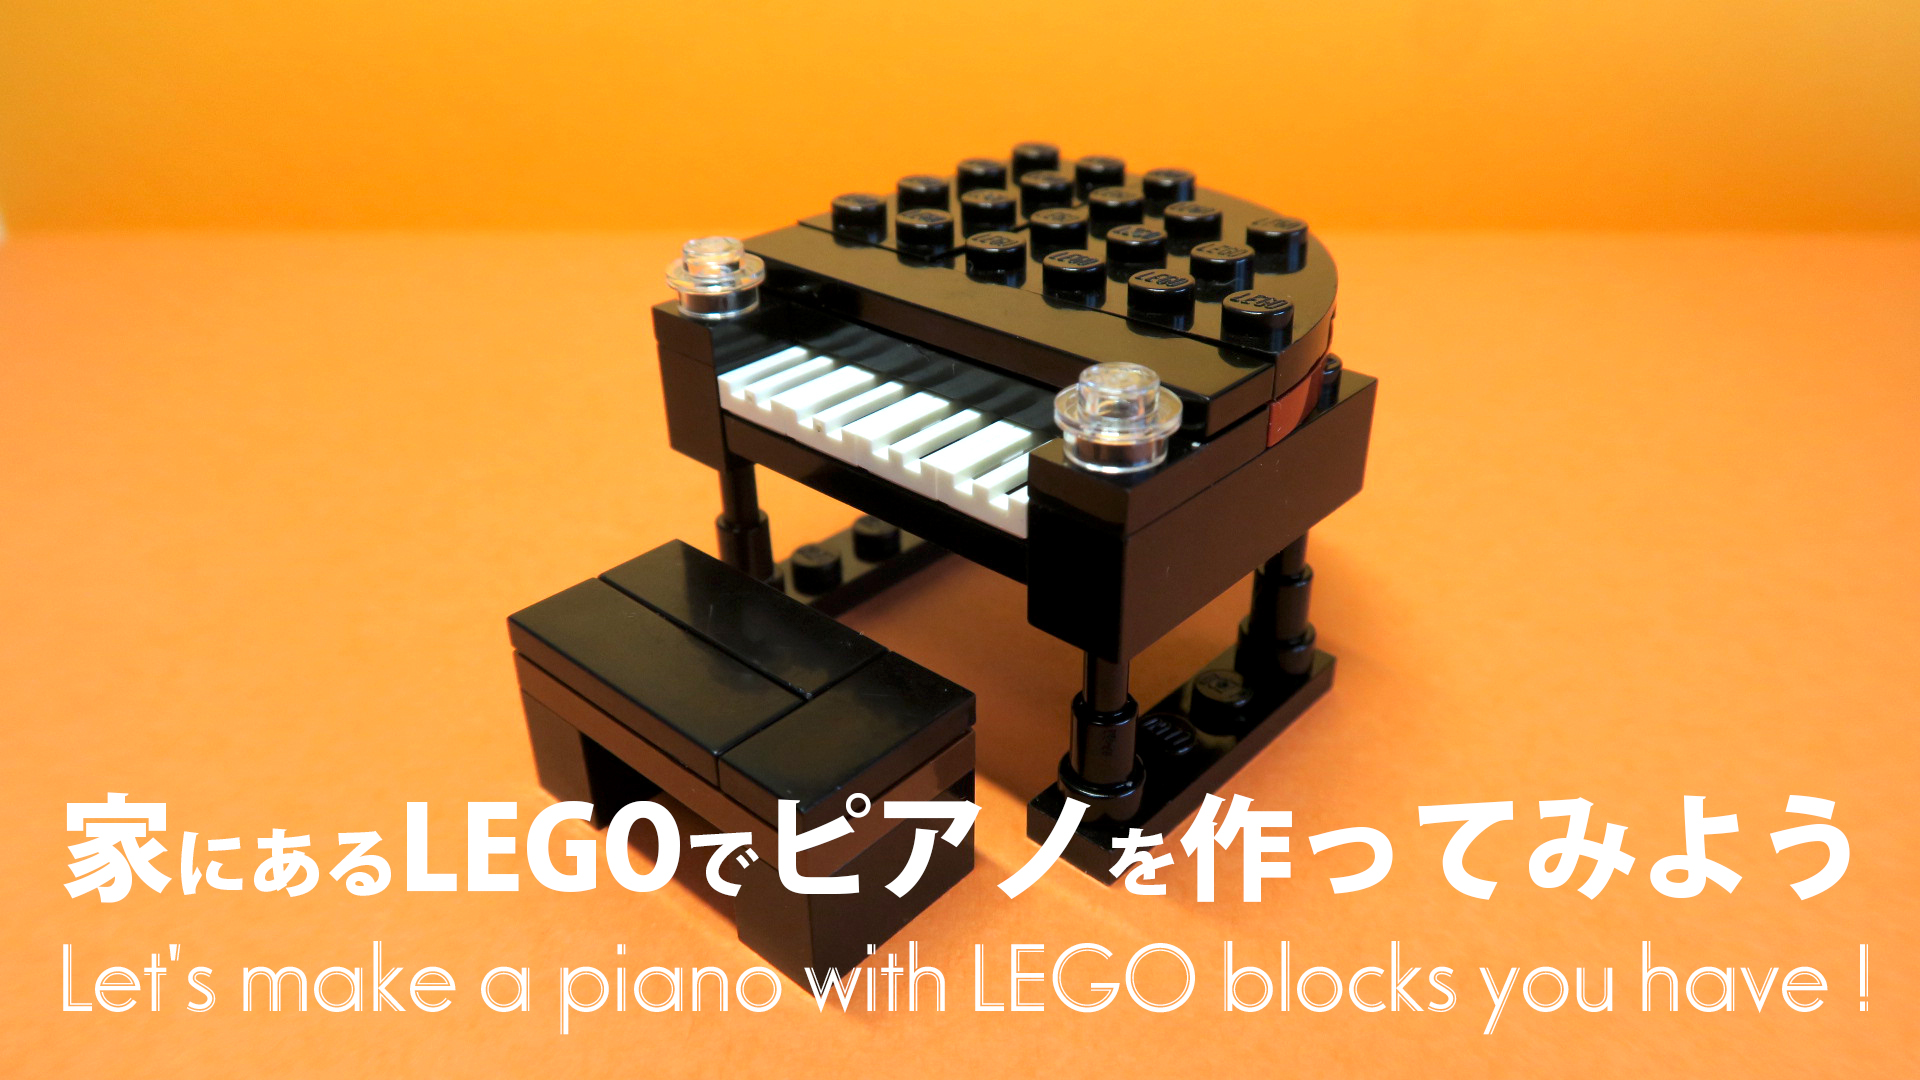
This time, I made a grand piano with the LEGO block at home.
There is no doubt that it will be appreciated as a gift for children who are learning the piano and as an accessory to welcome customers at the concert entrance!
Below the video is explained with photos and text. Try it in an easy-to-understand way.
↓↓↓ First from the video.
↓↓↓ Photo and text from here.

Please check the LEGO block in the house and try to produce it.

The top photo is an exploded view of the grand piano. I will divide it into three parts.
Oh, the left edge is a chair, so you don’t have to worry about it.
Then, first of all, from the leg of the grand piano.

The part of the leg uses a block called a plate with a part used as a telescope item.If you can’t find a telescope, find four things that are likely to be legs and substitute them.It can be something like a connector or pin, or it can be a simple rod-shaped part.
1.”Plate 1 x 4″ and “Plate 1 x 6” one by one. Four telescopes will be prepared.

2.”Plate” and “Telescope” are attached as shown in the photo above.
Next, the body part of the grand piano.

First of all, please have the photo parts above.

3) Attach 4 “Tiles 1 x 2 Grill (white parts)” to “Plate 1 x 4”

4) Attach “Plate 2 x 4” to the parts made at No. 3

5) Attach two “tiles 1 x 2” to “plate 1 x 4”.Leave the middle of the “plate 1 x 4” as shown on the right of the photo above.

6) Place the “slope 1 x 2” at the place that had been emptied at No. 5.(Left photo above) This is a music stand.
7) Attach “Plate 1 x 1 round (small transparent part)” to “Plate 1 x 2”.

8) Attach the parts made at No. 7 to “Block 1 x 6” (left photo).
9) Attach “Plate 1×1 round (small transparent part)” to “Plate 1 x 2” and attach it to “Block 1 x 4”.(Right of the photo above)

10) On top of the parts made in Nos. 8 and 9, attach the part No. 6 as shown on the left of the photo above.
11) “Plate 4 x 4 Round Corner” 2 pieces (right photo above)

12) And the parts made in No. 11 and “plate 2 x 4”, “block 2 x 4” is attached as shown on the right of the photo above.

13) Attach the parts made at No. 10 and the 12th as shown in the upper photo.

14) Attach the keyboard created at No. 4 to the part made at No. 13 as shown in the upper photo right.

15) When the 14th number is made to the table, it becomes like the left of the upper photograph.
16) Attach the remaining parts “lever” and “tile 1×2 grille (golden parts)” as shown on the top photo.The lever is the place to become the stick of the grand piano, and the best base color is black. I didn’t see any black parts in my LEGO, so I chose gray.
This is the completion of the main body parts.
Next, I’m going to make the roof part of the grand piano.

17) The roof of the piano has the photo parts above.

18) Attach two “Tiles 1 x 1 Clips” to one “Plate 1×2 Handle”.Make two sets.

19) Turn over the parts made at No. 18 and the “plate 4 x 4 round corner”.
20) Fixed with “Plate 2 x 4” (right photo above)

21) Place the remaining parts “plate 2 x 2” and “plate 1 x 1” as shown in the right of the photo above.

Now that the three parts above are completed, all we have to do is combine them.

22) The roof and legs are attached as shown in the above photo and completed.

Completed!!!
↓↓↓ Children’s Concerts


That’s so cute!


この記事へのコメントはありません。